Here we go folks... your nominees for January 2016 FULLSIZE OF THE MONTH!
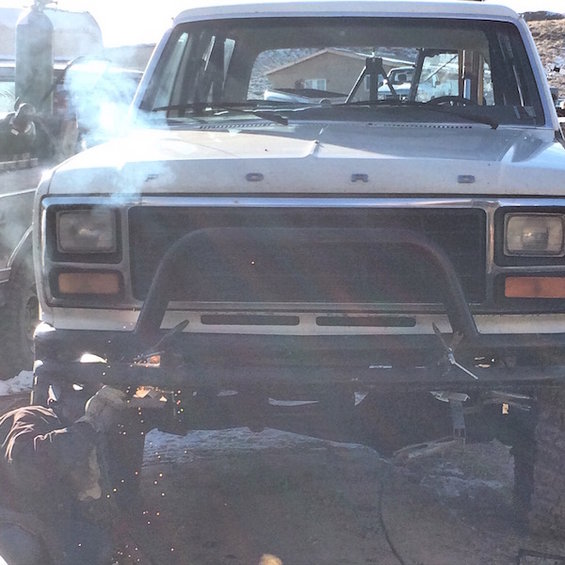
1) raleigh
![Image]()
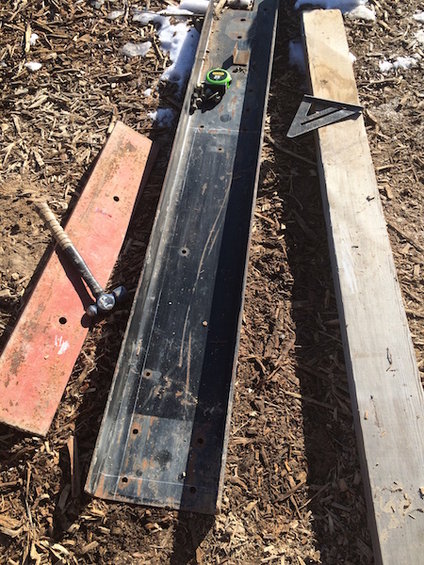
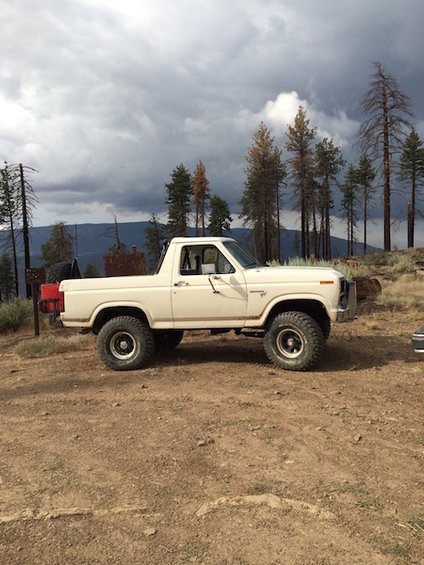
2) 379sinvb
![Image]()
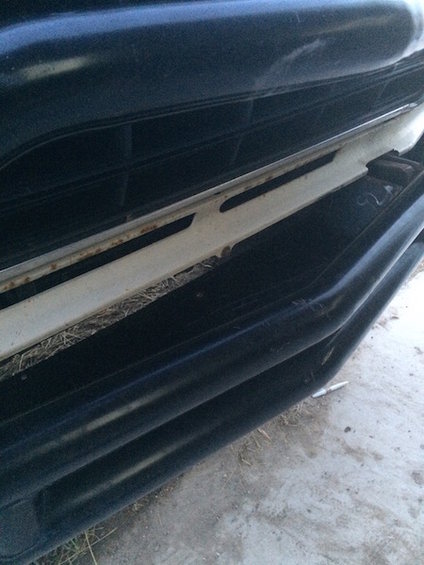
3) ntahmisyan
![Image]()
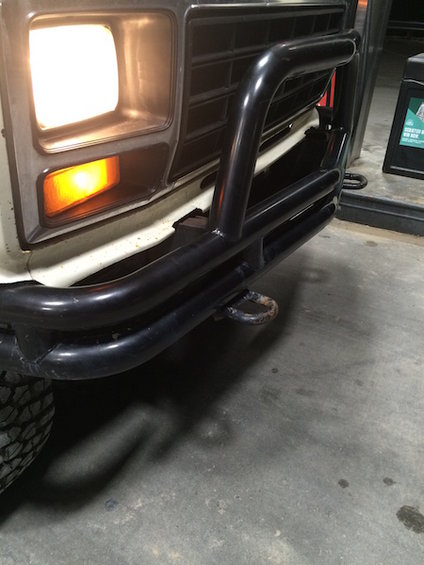
4) 91FordGuy
![Image]()
5) Sjeuck53
![Image]()
Bring the year in right guys!! Show us what you've got.
Let the games begin!!! :duel
[/COLOR]1) raleigh
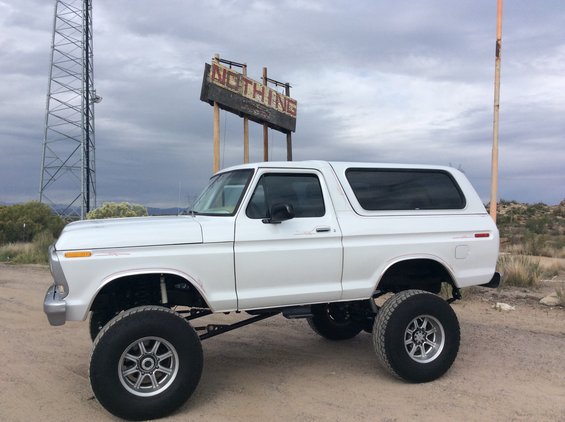
2) 379sinvb
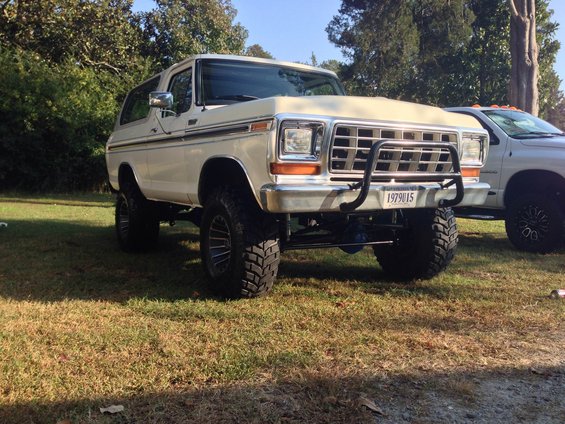
3) ntahmisyan
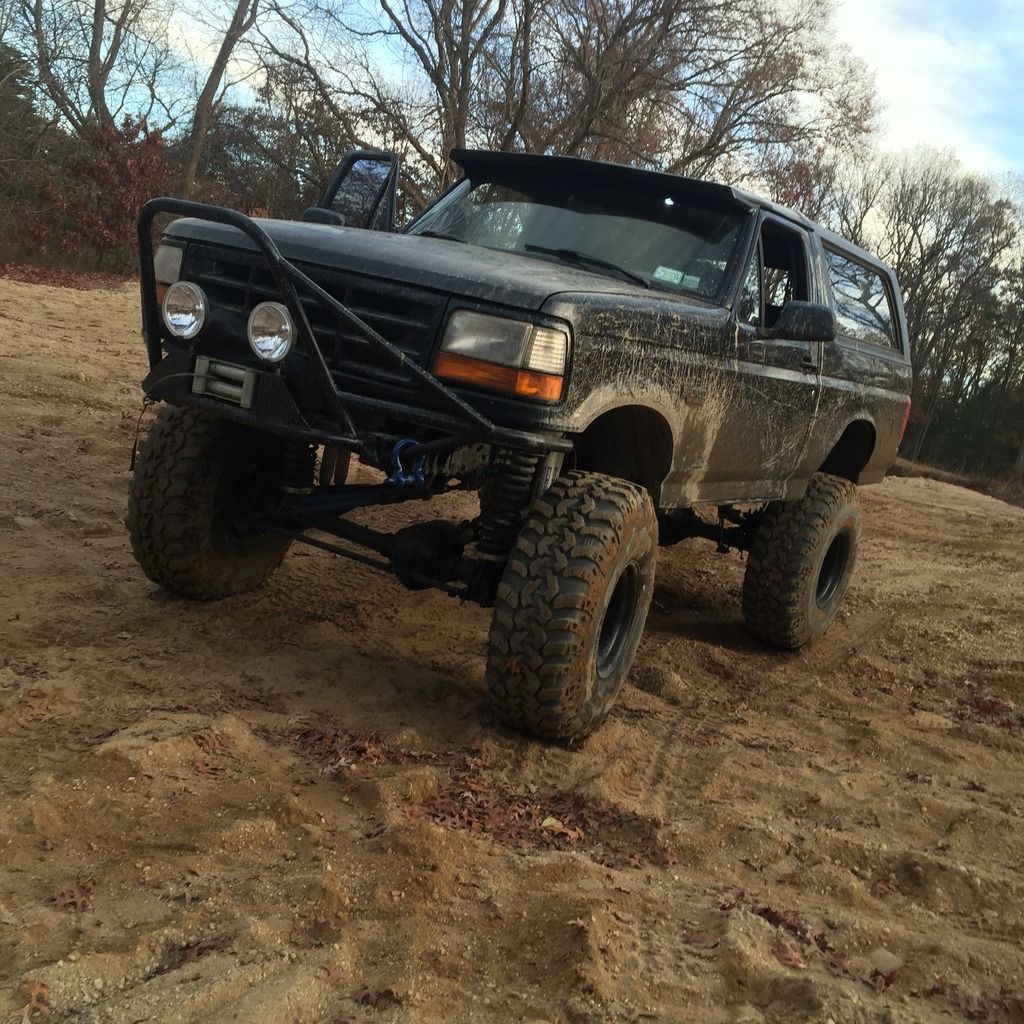
4) 91FordGuy
5) Sjeuck53

Bring the year in right guys!! Show us what you've got.
Let the games begin!!! :duel