Not really a section for this so chose to post this in Nobbie section. If mods think it belongs elsewhere please move it.
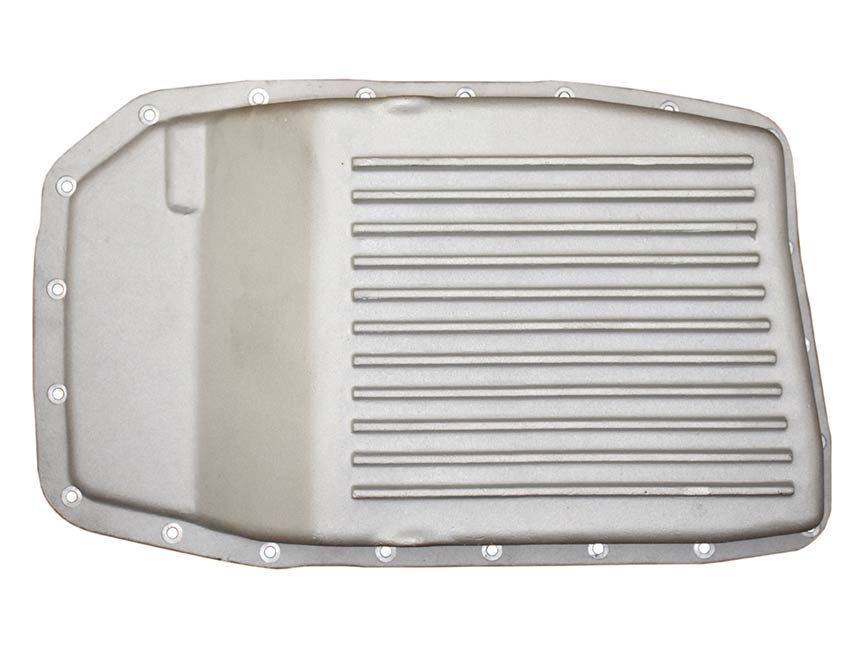
I have been considering swapping to a 6R80 6 Speed automatic transmission. Currently my plan was to use a ZF5-47 manual transmission, but behind the modified Big Block Ford I think it's life would be short lived. Besides my old legs and hips just can't handle city driving with a manual transmission. The 6R80 has a double overdrive so engine rpm can be lower at highway cruise speed. Hoping for something around 2000-2500 rpm. First gear is lower than what the C6 or AOD would offer and about the same as the ZF5. The 6R80 torque converter is a lockup style and aftermarket convertors are available with multi-disc lock up.
Gear Ratios:
These transmissions can be found in a variety of vehicles. No you might not find one in your local Pull-A-Part or LKQ. Salvage yards may want a premium for a late model one.
So far my research has turned up the following donor vehicles. Please correct me if I am wrong.
Naturally if swapping into a Bronco you would be looking for a 4WD model, but don't worry if you can't find one. You can use a 2WD model with just swapping the tailshaft housing as the output shaft is the same.
Do not think of this transmission as a weak late model transmission. In stock form can easily handle 500-600 HP with a good quality rebuild and improved clutch discs. There are no clutch bands in the 6R80 like the C6 has. It is all handle by clutch to clutch switching.
Now for the bad points.
I guess for most cost is going to be a concern. This is not a cheap swap, expect to spend a minimum of $2500 plus whatever the rebuild cost you.
Currently there is not a transfer case adapter to fit the NP205 transfer cases. I have been in contact with the person that designed the 6R80 to Dana 20 transfer case adapter for Advance Adapters. We have discussed the possibility of designing one for the NP205 transfer case, and he seemed open to the idea.
50-3901 : Ford 6R80 to BRONCO DANA 20 ADAPTER KIT | Advance Adapters
The output shaft of the 6R80 is 31 spline so it will mate directly to the Ford NP205 input. If your transfer case has a different input shaft spline count, the original 31 spline input is no longer available, but a two piece input shaft and gear is available new from Advance Adapters.
716044-F : GEAR-INPUT FORD NP205 31 SPLINE | Advance Adapters
The 6R80 is electronically controlled from the factory ECU. There is a standalone controller available from U.S.Shift that can be used with a carb or EFI engine. These are the same people that offer the controller for the AOD-E.
Quick 6 Clutch-to-Clutch Transmission Control
You will need a shifter to match the transmission. I haven't seen anyone convert a column shifter for use with the 6R80 so you will need a floor shifter. There are several options out there even from GM. Some of you may recognize the shifter PRNDS or PRDM. I believe it was designed by ZF for Ford and GM. There are variations out there but the assembly is the same just the mount is different. Most likely candidate is from a Mustang or Malibu. Notice the button on the side of the shifter, that is for manually shifting, bump up or down. For those that want to get fancy there are paddle shifters that will work with the controller, but you will still need floor shifter.
![Image]()
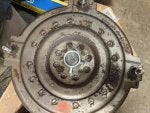
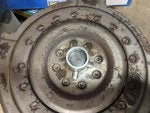
Block adapters are available for either Small Block of Big Block. I would recommend that you also buy the block plate and flexplate from the same source as it may effect fit of torque converter and starter. Some block plates are dual fit, they will work with either automatic or manual trans starter.
You will need an oil cooler adapter to fit the transmission. There are several sources for these. Cooler lines need to be a minimum of 1/2" or -8AN or you will have shift problems because of the cooling circuit design. No reusing your existing 1/4 or 5/16 inch cooler lines.
The 6R80 is considered a sealed for life transmission. There is no way to check trans fluid without placing vehicle on a lift. There is no dipstick. If you would like one, B&M makes a nice sealed locking dipstick that you don't have to worry about puking transfluid out of.
B&M 22200 B&M Locking Automatic Transmission Dipstick & Tube - Billet Aluminum/Stainless Steel Braided
Info and Parts sources:
Designer of transfer case adapter. Also source for salvage swap parts. Builder of the Raptor Bronco and 6R80 swaps in EBs.
Source for complete trans swap kits and components including block adapters, block plates, flex plates.
Performance Automatic
Top of the line torque converters. Notice I did not say cheap! Hang on to your wallet.
Circle D Specialties. Ford
Transmission parts and swap components.
 pbhperformance.com
Transmission components
Transmission components
BCA Transmissions Online Storefront
Paddle Shifter you will still need the floor shifter
Paddle Shifters - Twist Machine
Proof these aren't weak weeny transmissions and expert builder. Not saying you need his billet parts but he does build some great transmissions without his billet parts.
Build 6R80 Six-Speed Autos For 7-Second Runs With These Billet Bits
That is it so far if anyone has anything else to add or question please feel free.
I have been considering swapping to a 6R80 6 Speed automatic transmission. Currently my plan was to use a ZF5-47 manual transmission, but behind the modified Big Block Ford I think it's life would be short lived. Besides my old legs and hips just can't handle city driving with a manual transmission. The 6R80 has a double overdrive so engine rpm can be lower at highway cruise speed. Hoping for something around 2000-2500 rpm. First gear is lower than what the C6 or AOD would offer and about the same as the ZF5. The 6R80 torque converter is a lockup style and aftermarket convertors are available with multi-disc lock up.
Gear Ratios:
- 1st 4.171
- 2nd 2.344
- 3rd 1.521
- 4th 1.143
- 5th 0.867
- 6th 0.691
- Rev 3.403
These transmissions can be found in a variety of vehicles. No you might not find one in your local Pull-A-Part or LKQ. Salvage yards may want a premium for a late model one.
So far my research has turned up the following donor vehicles. Please correct me if I am wrong.
- 2009–present Ford F-150
- 2009–present Ford Expedition
- 2009-2010 Explorer
- 2009–present Lincoln Navigator
- 2009-2010 Mercury Mountaineer
- 2011-2017 Ford Mustang V6, GT, Ecoboost(15-17)
- 2011-present Ford Ranger 2.2L, 3.2L
- 2015-present Ford Transit
Naturally if swapping into a Bronco you would be looking for a 4WD model, but don't worry if you can't find one. You can use a 2WD model with just swapping the tailshaft housing as the output shaft is the same.
Do not think of this transmission as a weak late model transmission. In stock form can easily handle 500-600 HP with a good quality rebuild and improved clutch discs. There are no clutch bands in the 6R80 like the C6 has. It is all handle by clutch to clutch switching.
Now for the bad points.
I guess for most cost is going to be a concern. This is not a cheap swap, expect to spend a minimum of $2500 plus whatever the rebuild cost you.
Currently there is not a transfer case adapter to fit the NP205 transfer cases. I have been in contact with the person that designed the 6R80 to Dana 20 transfer case adapter for Advance Adapters. We have discussed the possibility of designing one for the NP205 transfer case, and he seemed open to the idea.
50-3901 : Ford 6R80 to BRONCO DANA 20 ADAPTER KIT | Advance Adapters
The output shaft of the 6R80 is 31 spline so it will mate directly to the Ford NP205 input. If your transfer case has a different input shaft spline count, the original 31 spline input is no longer available, but a two piece input shaft and gear is available new from Advance Adapters.
716044-F : GEAR-INPUT FORD NP205 31 SPLINE | Advance Adapters
The 6R80 is electronically controlled from the factory ECU. There is a standalone controller available from U.S.Shift that can be used with a carb or EFI engine. These are the same people that offer the controller for the AOD-E.
Quick 6 Clutch-to-Clutch Transmission Control
You will need a shifter to match the transmission. I haven't seen anyone convert a column shifter for use with the 6R80 so you will need a floor shifter. There are several options out there even from GM. Some of you may recognize the shifter PRNDS or PRDM. I believe it was designed by ZF for Ford and GM. There are variations out there but the assembly is the same just the mount is different. Most likely candidate is from a Mustang or Malibu. Notice the button on the side of the shifter, that is for manually shifting, bump up or down. For those that want to get fancy there are paddle shifters that will work with the controller, but you will still need floor shifter.
Block adapters are available for either Small Block of Big Block. I would recommend that you also buy the block plate and flexplate from the same source as it may effect fit of torque converter and starter. Some block plates are dual fit, they will work with either automatic or manual trans starter.
You will need an oil cooler adapter to fit the transmission. There are several sources for these. Cooler lines need to be a minimum of 1/2" or -8AN or you will have shift problems because of the cooling circuit design. No reusing your existing 1/4 or 5/16 inch cooler lines.
The 6R80 is considered a sealed for life transmission. There is no way to check trans fluid without placing vehicle on a lift. There is no dipstick. If you would like one, B&M makes a nice sealed locking dipstick that you don't have to worry about puking transfluid out of.
B&M 22200 B&M Locking Automatic Transmission Dipstick & Tube - Billet Aluminum/Stainless Steel Braided
Info and Parts sources:
Designer of transfer case adapter. Also source for salvage swap parts. Builder of the Raptor Bronco and 6R80 swaps in EBs.
Source for complete trans swap kits and components including block adapters, block plates, flex plates.
Performance Automatic
Top of the line torque converters. Notice I did not say cheap! Hang on to your wallet.
Circle D Specialties. Ford
Transmission parts and swap components.
Power By The Hour – Your Coyote Swap Source
 pbhperformance.com
Transmission components
Transmission components
BCA Transmissions Online Storefront
Paddle Shifter you will still need the floor shifter
Paddle Shifters - Twist Machine
Proof these aren't weak weeny transmissions and expert builder. Not saying you need his billet parts but he does build some great transmissions without his billet parts.
Build 6R80 Six-Speed Autos For 7-Second Runs With These Billet Bits
That is it so far if anyone has anything else to add or question please feel free.


