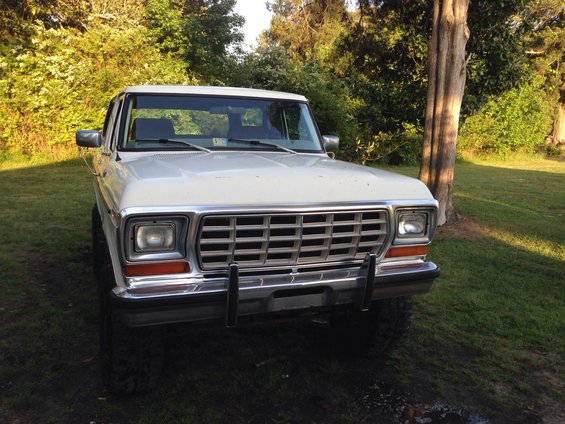
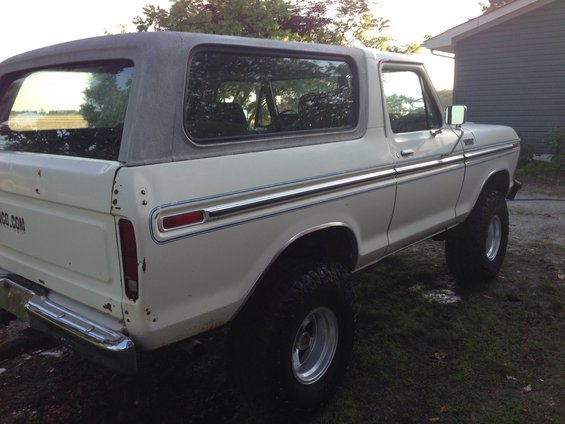
I went and bought myself the Filly from FordFilly as some of you might know. I couldn't pass up as nice a Bronco as this one is. With as much that has already been done to it. She's clean, straight and damn near everything I would have done to it myself. You're not going to see any big changes to this one. Just some upgrades I feel it needs or minor changes to meet my tastes.
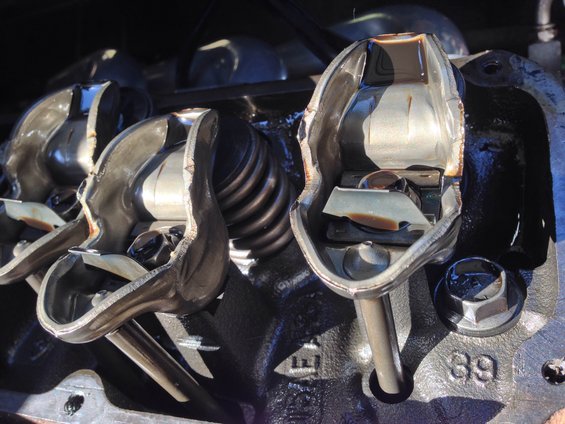
Motor details
![Image]()
![Image]()
![Image]()
![Image]()
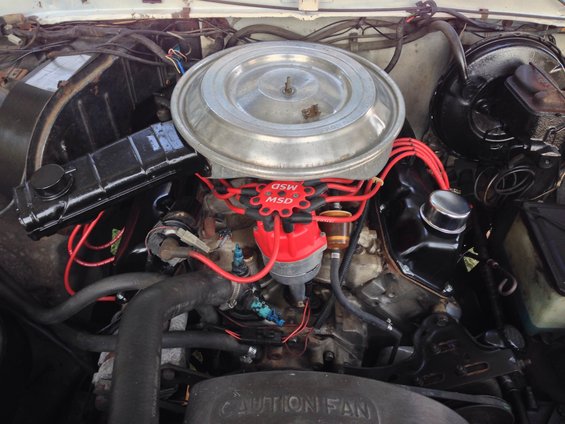
Working already
![Image]()
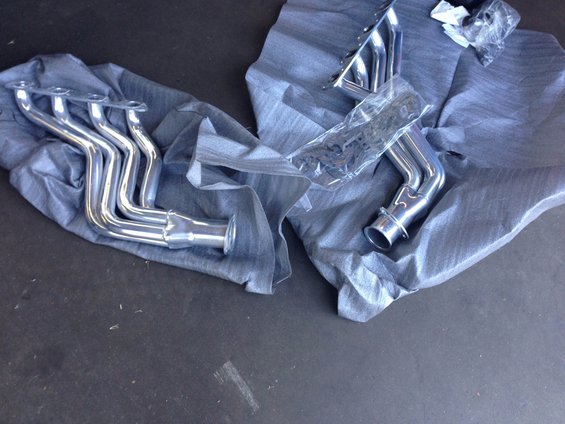
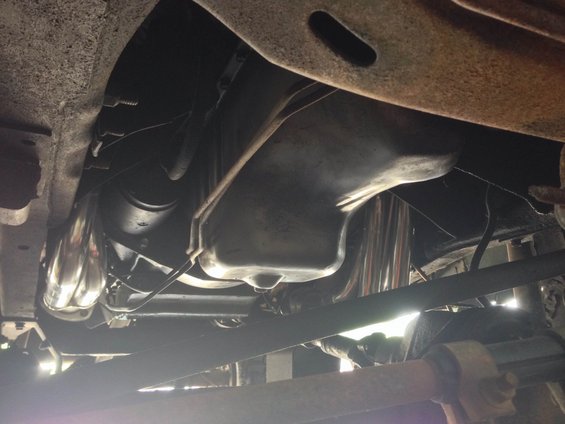
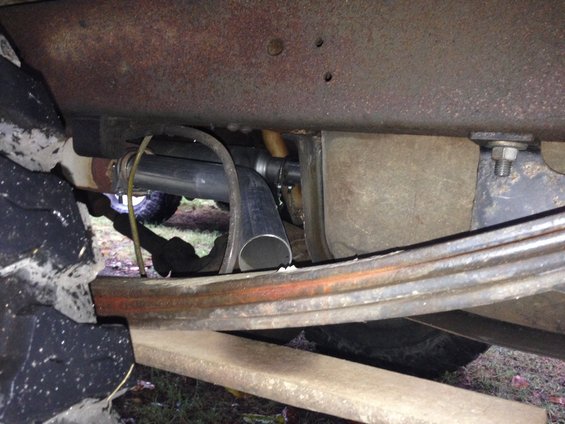
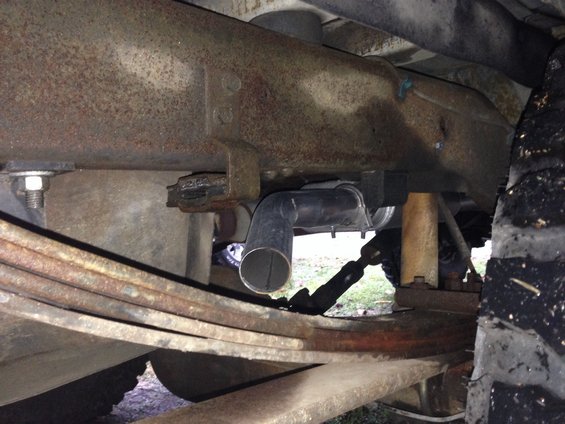
The first couple of times I drove it I thought it need to be opened up a little in the exhaust area. I got to looking at what Judi had done to it and she spoke of adding headers. So I did that and added another muffler to make it true duals.
![Image]()
Flowtech ceramic coated
![Image]()
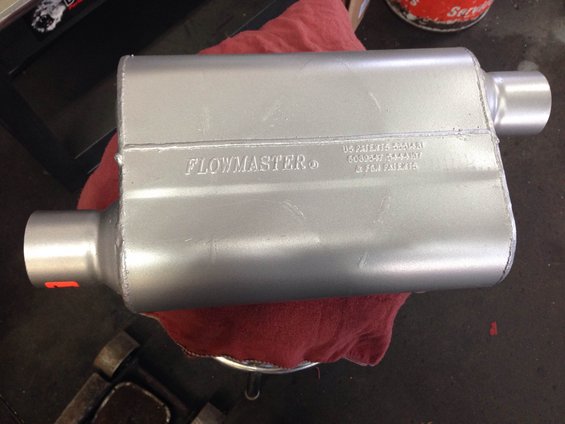
flowmaster 40 series to go with the one that was already there.
![Image]()
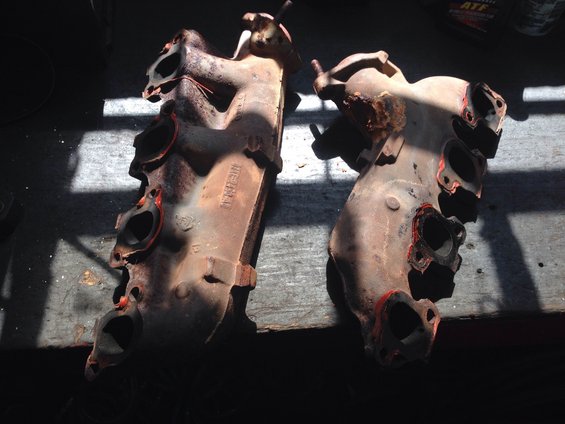
mani's out
![Image]()
![Image]()
![Image]()
![Image]()
![Image]()
![Image]()
![Image]()
![Image]()
![Image]()
![Image]()
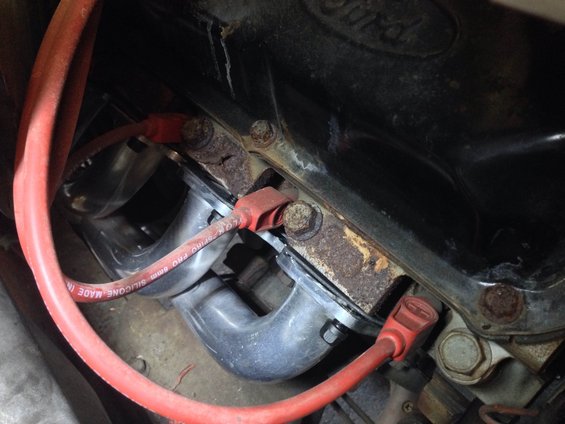
Open headers
https://www.
I'll get one of what it sounds like finished.
Motor details


Working already

The first couple of times I drove it I thought it need to be opened up a little in the exhaust area. I got to looking at what Judi had done to it and she spoke of adding headers. So I did that and added another muffler to make it true duals.
Flowtech ceramic coated
flowmaster 40 series to go with the one that was already there.
mani's out


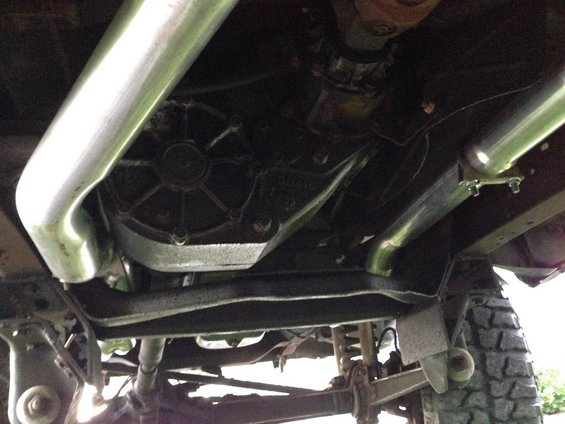
Open headers
https://www.
I'll get one of what it sounds like finished.
 opc1:
opc1: