Bronco Forum - Full Size Ford Bronco Forum banner

88 4WD does not engage front wheels.

2K views 17 replies 7 participants last post by  offduty  
#1 ·
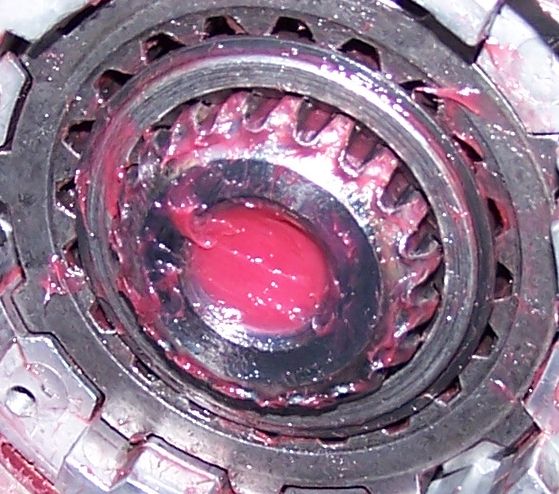
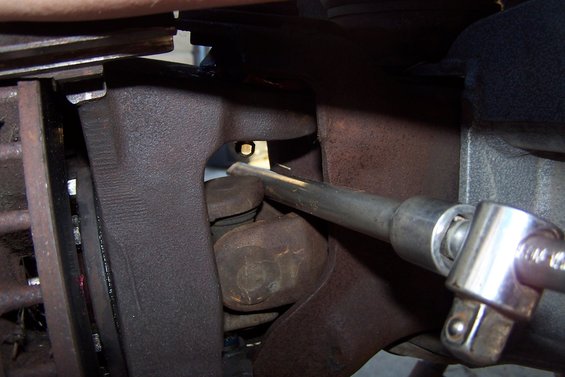
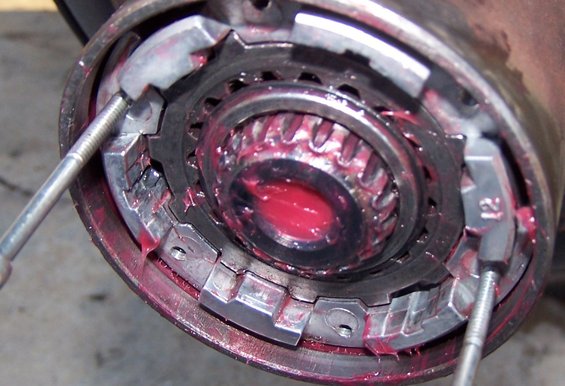
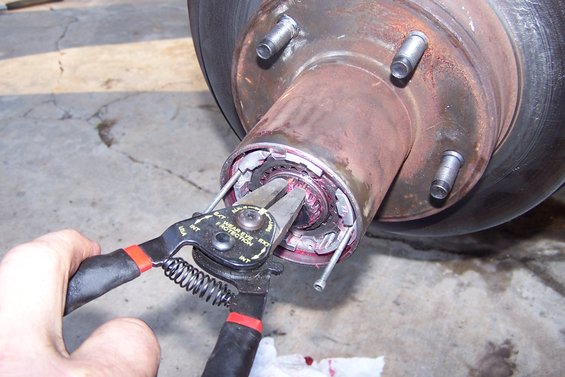
Got stuck on a forest road, thought I would engage 4WD, nope. Front driveshaft is there, it feels like when I manually pull back from 2 high towards any of the 4wd positions there is movement in the transfer case. Could not get front whaeels turning in any of the 4WD gear selections. I tried to get it in with front hubs locked and unlocked many times and with it in park and neutral. When I would get back by 4 low and give it some gas I could hear a clicking, ratcheting type sound If was in R or D trying to get things lined up to go together, tried with it in gear and pulling back to 4 low. Its been years since I have used 4WD but it always worked. It has had the C6 replaced with an E4OD. I moved to Texas almost 4 years ago and lost the torque converter on the way. I had the whole tranny pulled, rebuilt, a billet torque converter installed along with deeper trans pan and biggest trans cooler I could find. trans runs much cooler now especially when towing a bass boat. The only thing this Bronco is for is getting the boat 1/10th of a mile to the boat ramp and hunting. Good deer and hog hunting and plenty of forrest roads to get to good spots. Any Ideas what my problem might be? I will crawl under it tomorrow and look at linkage. A little research showed transfer case control levers have springs in them that can break, I am hoping its as easy as replacing that and I dont have to pull the T case, but I have done it and rebuilt it before. Any help would be appreciated, Miesk, I’m hoping you see this because you have sent me in the right direction a few times before and saved me $.
 

Attachments

#3 ·
Yo Offduty,

A test first;
Operational Test; "...To CHECK FOR PROPER ENGAGEMENT, dial both hubs to LOCK and raise the front left corner of the vehicle off the ground. Spin the lifted tire. The drive line will turn if the Hub is engaging properly. TO CHECK FOR PROPER DISENGAGEMENT, dial the lifted wheel hub into FREE and spin the lifted wheel. If the drive line does not turn AND you hear NO ratcheting sounds, the hub is disengaging properly. Repeat step 5- 6 with the right wheel & hub. NOTE: The hubs are not required to seat against the wheel housing when installed, they may move in and out quite easily. This “float†is normal and will not affect performance..."
Source: by Warn®

"The t-case disconnects the front driveshaft from the transmission, and the hubs disconnect the axleshafts from the wheels. The driveshaft is ALWAYS connected to the diff & axleshafts. Depending on how tight your diff is, both axleshafts MAY turn when you turn the d'shaft while BOTH hubs are unlocked, but at least one of them has to no matter what. If the d-shaft won't turn with both front wheels off the ground (or the hub locks removed), then the t-case is still in 4. If either axleshaft won't turn with its hub UNlocked AND the t-case in 2 or N, then that hub is stuck locked. I suspect you'll find some carmelized grease, and some surface rust on the lock rings, and probably a spring or 2 heavily rusted, to the point that they're ruined. But that's just a guess. Take both hub locks OUT of the hubs, and then roll the truck a little. You don't need to remove the tires, or even jack the front end up since the locks don't bear ANY weight. If the d'shaft still turns, the problem is in your t-case....."
Source: by Steve83

Next up to bat is 1356 Manual Shift, No Movement or Neutral Position Tip/Saver Spacer & pic; "...Many 1987-1995 Ford F series 4x4 trucks and full size Bronco owners with 1356 manual shift transfer cases commonly complain of a "no movement" or an occasional neutral condition. This condition is usually caused by the linkage wearing the transfer case at its point of contact (1356 manual shift models only). Sonnax offers a case saver spacer 36605-01. This case saver spacer goes between the shift selector cam and the case and requires no special tools to install. The spacer moves the cam closer to the shift fork, thus preventing and/or eliminating: 1) one or both shift forks from becoming disengaged from the shift cam, 2) "slop"from the linkage caused by a worn linkage bore in front case half. This item is a specific size/thickness not commonly found in ordinary flat washers. This repair is quick, easy and a lot less expensive than repairing or replacing the case. Model: 36605-01..."
Source: by transmichigan.com which is most likely out of business, so ask @ https://www.google.com/url?sa=t&sou...AhVqEVkFHaeLCbYQFnoECAoQAg&usg=AOvVaw05akzMdAScvUCJAqf-6cyK&cshid=1619527769067

Or contact Allstate Gear Company - remanufactured manual standard transmissions & transfer cases & 8.8 parts @ Allstate Gear, Inc. – Manual Transmission Repair Parts Online

Or Transmission Parts - Home | Cobra Transmission

May need to call local transmission shops
 
#4 ·
178633
Yo
Had to search for more info such as:
Sonnax Transmission Products Catalog - Canada Wide Parts Distributors


transmission layouts, a quick and easy way to see Sonnax parts “in action.” Parts are identified by number for easy ... Sonnax 36605-01 space savers fit between the shift selector cam and the case to take up excess play ...
108 pages·9 MB
I can't down load the catalog because I have another program running.


Kit Case Saver-1356 Manual Shift (5 Pieces) (Sonnax)

Call Spacer,E4OD Manual Case Saver 89-Up
Call For Availability, New Part 36605-01 $6.50
SPACER,E4OD MANUAL CASE SAVER 89-UP


See more info @ 4x4 stuck on 95 bronco
 
#6 ·
Function test reveals front hubs are not engaging, both hubs when turned to lock will not spin front driveshaft when rotating either front wheel. I have rotors and pads for the front to do those brakes. Any idea what parts to buy to fix the front hubs? Can I buy a kit and install new guts or can I replace the whole assembly as a complete kit? I have the special socket and have had the hubs apart to replace rotors and pads before, should I replace bearings as well. Everything on the ends of the front TTB is origonal. I did front rotors and pads shortly after I bought this Bronco, the 4WD did work when I was done. I got no problem spending a little money on this Bronco to keep it running well and though I never used to use 4WD I will a lot now to get to hunting spots. I wont beat on it but we do have some mud holes. @miesk5
 
#7 ·
If you're in there and have a little money to invest, you should probably just do new hubs, and bearings if they're original. No sense in putting beat to shit shit back in there, right? Might even wanna consider tie rod ends while you're at it...
 
#8 ·
Yo offduty,
As long as your 88 has 6 screws on hub covers:

Replace hub parts as necessary. Local parts stores usually carry these:
Warn® Hub Service Parts & Fastener Kits Part Numbers; Premium Manual Hub #20990; Premium Spindle Nut Kit #32720; Premium Hub Service Kit #20825 for 66-96 Bronco 19 Splines (Will Not Fit '87-Early '88 Models Vehicles, Flange Mount); 59-96 F 150, 59-75 F 250...Vehicles With Full Time 4WD Requires Transfer Case Conversion Kit; When Replacing Automatic 3 Hole Cap Screw Hubs, You Must Purchase Corresponding Spindle Nut Conversion Kit; Miesk5 Note, CONVERSION KIT P/N 32720 is for both Premium Manual Hub & Standard Manual Hub
Source: by Warn®

Replacement (Warn® 6 screw in a 90, part of his ball joint installation) Torque specs are off, see below
Source: by Iolaus (Jeff J) at FSB


Bearing Locknut Torque Settings in a 90; and, Wheel Bearing Locknut Torque Settings for 80-96 MANUAL HUBS, NOT Factory Auto Hubs; Ford Pickups and Bronco; "...Using a lockout spanner (ford # T59T-1197-B or equivalent ) and a torque wrench, tighten the inner bearing adjusting nut to 50 foot pounds while rotating the wheel back and forth and seating the bearing. Back off the adjusting nut approximately 45 degrees. Assemble the lock washer by turning the inner lockout to align the pin with the nearest hole in the lock washer. To lock it, install the outer lock nut and tighten it to 150 foot pounds. Grab the top of the tire with one hand and the bottom of the tire with the other. Move the tire in and out on the spindle. End play should be less than .006“ (inch.)." Thanks to 90beater (Topher, Chris)!!!!
 
#10 ·
You likely shouldnt need that ACDelco 18A246A wheel hub. My bearings exploded on the highway, destroyed the lockout, and welded parts of the bearings to the spindle. But that wheel hub (NOT the 4x4 lockout) was perfectly fine. That will save you a chunk of change.
 
#11 ·
@offduty

I just got done swapping my auto hubs to manual in my 96. Three bolt auto hubs, I think. I have the special socket for removing the auto hub spindle nut. I have no use for it anymore (manual hub nuts use a different socket). I would be happy to pass it on to you for shipping, if you will do the same—pass it on when another member needs it.


Sent from my iPhone using Tapatalk
 
#13 ·
For what it's worth, a ratcheting sound is often indicative of a dry hub. The internals of the locking hub can't move far enough to engage due to dry, pasty grease.

If one or both don't engage, you'll have no 4x4 at all.

This can usually be remedied by just popping the cap off, pulling the hub out, cleaning it, and lightly greasing it.

My brother had the same issue due to not using it for a while (no 4x4 and the ratcheting sound) and it took 30 minutes to clean it all up and get it working again.
 
#14 · (Edited)
New issue, these new Warn premium lock outs are thicker. All that is left to do is put these new lock outs on, but the first piece that goes on is thicker than the Super Winch ones I am replacing. They do slide in, just not far enough to put that big C clip on that presses outward against the inside of the hub before you bolt the caps with tha actuating levers on. The Warn lock outs come with a C shaped snap ring that you need snap ring pliars for, but I have no idea if I use it, or where it would go. Its seems as if I need hubs that are longer than the new stock style ones I just bought. Anyone have any idea what is going on here? @miesk5
 
#15 ·
Yo offduty,
As member Iolaus wrote @ 1990 ball joint replacement
"I ran into a problem at this point; the groove for the snap ring wasn't accessible.

Image


I tried pushing the lock further in, but it was fully seated. I pulled the lock and tried pulling out on the axle, but it didn't budge. I finally went to the back side and pried on the u-joint to push the axle further out. That finally did the job!
I ran into a problem at this point; the groove for the snap ring wasn't accessible.

Image


I tried pushing the lock further in, but it was fully seated. I pulled the lock and tried pulling out on the axle, but it didn't budge. I finally went to the back side and pried on the u-joint to push the axle further out. That finally did the job!
That finally did the job!

Image


Image


So then I was able to install the snap ring.

Image
 
#16 · (Edited)
Thanks @miesk5, i will give that a try. Hope I can get some movement in it because I need ablout 1/4“ - 3/8” more. I cant see how that will solve my issue in my head though. The axle shaft is already flush with the end if the hub. I removed the top 2 pieces in the picture and managed to get everything else together. I am fairly uncomfortable that is not safe though. Is the clip in the center the axle retaining ring? Also I dont think there is a groove for that snap ring on the bottom on the end of my axle. I did not have one to remove to get the stock Super Winch ones off
179562
179554
 
#17 ·
Think I may have this figured out. If the top 2 components, the washer with splined inside and the C clip are not used the hub lucks will fit. This allows enough depth inside the hub for the deeper Warn premium locks. The snap ring in the bottom of the pic would then be able to be used after the deeper lock out was installed. I was wrong, I do have the groove on the end of the axle for that snap ring, just did not have a snap ring on it origonally. Does anyone know if the snap ring actually replaces the splined washer and C clip as the axle retaining ring? I plan on calling Warn monday to ask them .
179595
 
#18 ·
Talked to Warn industries this morning. If you install a set of their premium locks on D44 TTB and the splined washer and C clip axle retainer do not allow you the depth inside the hub for the lock to slide in far enough you do not need to use them. After the last spindle nut is installed you slide the lockout in and use the large ring that presses against the inside of the hub, then use the snap ring they supplied on the end of the axle shaft, the lockout and snap ring have then become your new axle retainer.