Bronco Forum - Full Size Ford Bronco Forum banner

The Filly Build (79)

48K views 246 replies 45 participants last post by  BikerPepe`  
#1 · (Edited)
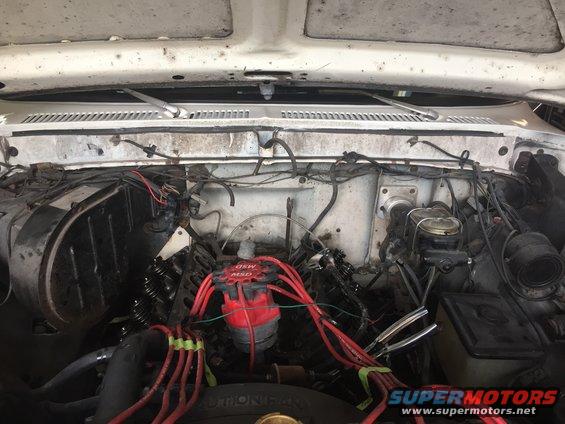
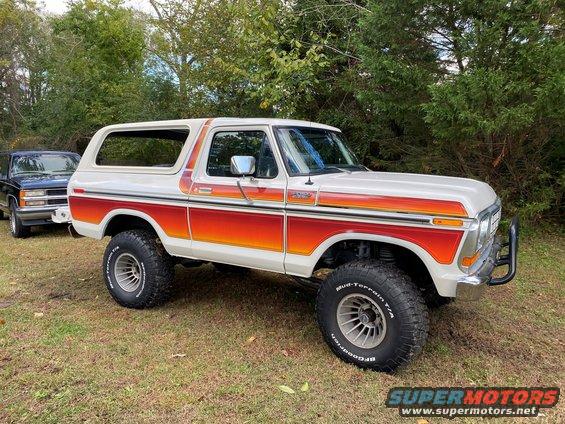
I went and bought myself the Filly from FordFilly as some of you might know. I couldn't pass up as nice a Bronco as this one is. With as much that has already been done to it. She's clean, straight and damn near everything I would have done to it myself. You're not going to see any big changes to this one. Just some upgrades I feel it needs or minor changes to meet my tastes.

Motor details


Image

Image

Image

Image

Working already
Image

The first couple of times I drove it I thought it need to be opened up a little in the exhaust area. I got to looking at what Judi had done to it and she spoke of adding headers. So I did that and added another muffler to make it true duals.
Image

Flowtech ceramic coated
Image

flowmaster 40 series to go with the one that was already there.
Image

mani's out
Image

Image

Image

Image

Image

Image

Image

Image

Image

Image


Open headers
https://www.

I'll get one of what it sounds like finished.
 
#226 ·
Not really sure what caused it Dave. Since this happened all has gone well for most part. Dealing with a few issues now that I will be updating on. One of those was the license plate lights crapped out on me. Did a little research and got some help from the site and fixed them with these.
 

Attachments

#228 ·
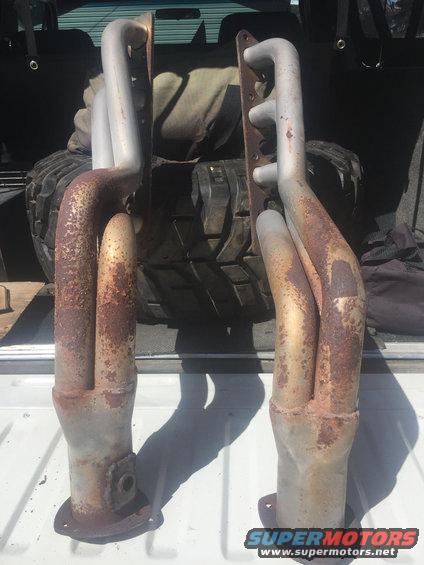
If you guys recall when I first purchased this Bronco it had the stock manifolds on the T-meyer'd 408. I put a set of headers on it shortly after. Well here is a before and the not quite 5 years later wear and tear.
2015
Image

2020
Image

Yeah not what I'd expect them to look like. Oh and they developed a hole in the collector for the passenger side.

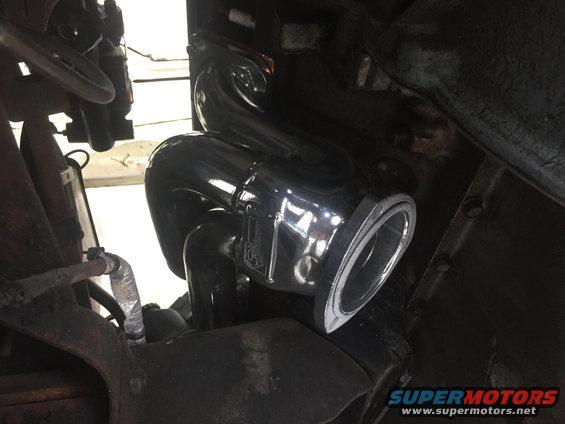
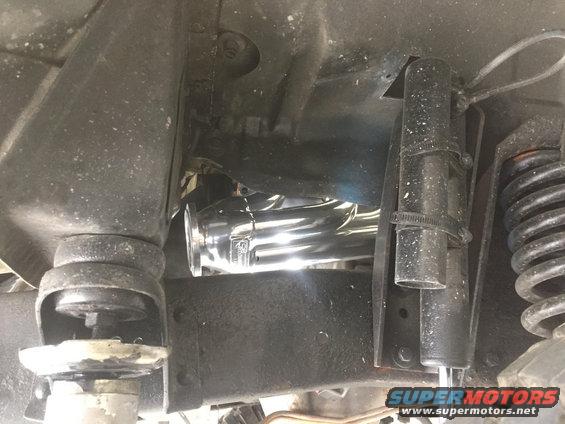
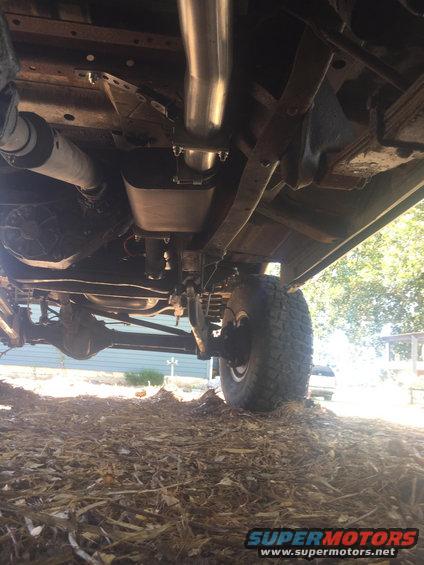
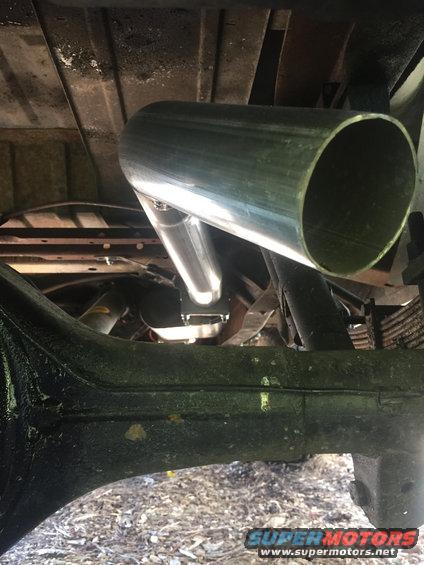
So, I was left with what do I do now. Well a warranty claim was not available because a few years back I put a FItech system on this Bronco and drilled a hole in the header. I decided to locate another header but didn't want to go with another long tube. Enter Sanderson shorty's. IF you've looked at them your'e like whoo! Yeah a bit pricey. At 200 more than the Hookers that rusted I had to break open the piggy bank on this one. Because I had to reroute the exhaust as well. Enough talking already. Here is what I got and did.
Image

installed
Image

Image

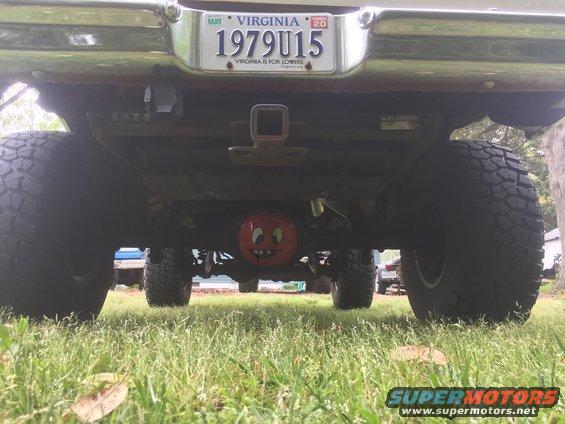
New layout (with credit to @nedceifus) including the two into one pipe to run 3" pipe.
Image

Image

I went with an original flowmaster 40 on this one. I'll get a video of what it sounds like now.
 
#229 ·
I got Sanderson shortys on my 460. They work great. No gasket & no leaks. Just the high temp sealer. I wrapped mine with thermal tape due to the first attempt at "header paint" being a failure and flaking off after a couple years.
 
  • Like
Reactions: 379sinvb
#234 ·
I had some Hedman ceramic coated headers that did something similar to that, but not quite as bad. Mine were mid length, so they probably didn't hang as low as yours probably did by the looks of them. I suppose had I hosed the underside of my truck every now and then they probably would have held up longer. I had no holes though, just flaky coating and rust. They were on the engine for about 17 years total, not sure when they started rusting.


Image


Image
 
#235 ·
Maybe going off topic... Father has a set of BBK headers that also had the ceramic coating done. They are on a truck that has never seen mud, and the same thing happened. I agree with most in here that its not woth the extra. Get Stainless or deal with rust eventually, it seems. The best looking ones over time I have personally messed with are the Old I think Nickle? plated LNL headers that they no longer sell. The set I bought used for my 78, still look great, no rust what so ever, and they do see mud, salt, snow,

The Sanderson's are nice, every pair I have seen is very well made, I think you will be happy with them in the long term. I also like the shorty or mid-length setup on the bronco the best for routing, performance, and I like the sound of a single vs duals, personally, especially if its a larger diameter...
 
#236 ·
@Doosenberry & @CrazyBRONCOguy, I do believe the major problem or result of the rust was the exposure to the rain, road debris, sand, saltwater, snow/slush that was thrown at it over time. Hence why I went away from the long tube design and to the shorty's. I needed the performance that headers provide for this motor but didn't want it hanging down and exposed. I'll be watching to see how the coating responds.
 
#240 ·
I've been doing a little work on the hard top over the past couple of months. I wasn't a big fan of the grey liner that was rolled onto the top when I bought it. It has also peeled off over the years so not exactly appealing to my eyes. I scraped it off and then hit it with a sander. Pulled all of the seam sealer out and resealed it and to complete the process I bought some Wimbledon White paint and poured it into the Raptor Liner I was going to spray on it. Now to get the weather stripping for the slider windows I'm putting in there. Thanks to @thinblueline for showing me how spray this stuff. Turned out great!

Image

Image

Image

Image

Image

Image

Image

Image
 
#242 ·
Looks fantastic Rick. I wasn't aware you could directly mix standard colors into the Raptor Liner product.
I've been doing a little work on the hard top over the past couple of months. I wasn't a big fan of the grey liner that was rolled onto the top when I bought it. It has also peeled off over the years so not exactly appealing to my eyes. I scraped it off and then hit it with a sander. Pulled all of the seam sealer out and resealed it and to complete the process I bought some Wimbledon White paint and poured it into the Raptor Liner I was going to spray on it. Now to get the weather stripping for the slider windows I'm putting in there. Thanks to @thinblueline for showing me how spray this stuff. Turned out great!

Image

Image
Looks fantastic Rick. I wasn't aware you could directly mix standard colors into the Raptor Liner product. Looks like the old "Rocker Shutz" guns I used back in the Auto Body days.
 
#244 ·
There are a few items put into the automotive paints they leave out, but it is a direct pour. Raptor liner comes in a bottle that you pour paint in and hardener, screw into gun and spray away. Air pressure determines texture from there. We set mine to 80psi. Mark @thinblueline has shot quite a few things. Thanks for the compliments.
 
#246 ·
I came in here to update the top and realized I had not added the steps/sliders I had acquired late last year. So I'll update that as well.

I've had these sliding windows for too many years and they sat out in the elements. I'm not certain as to how bad off they were when I got them. But I had to have the pivot rod rebuilt. I used a guy that has done a few restoration of 70's model ford truck. He did a good job and I took the 3 hours to install the windows and then the locking chrome strip in. Chrome strip was far more difficult than the window weather stripping itself.

Image


I bought these off a friend who ran them on his 78. I guess he got tired of them so offered them to me.

how they looked when I got them.

Image

Image


With the long arms on my '79 I had to have the legs repositioned.

Image


Double checking the fit before I paint them.
Image

Image


Painted in semi-gloss and installed
Image

Image

Image


Now that the top is sealed maybe I can get those rear interior panels covered.